Use manual IP/Host Name assignment instead.
Introduction
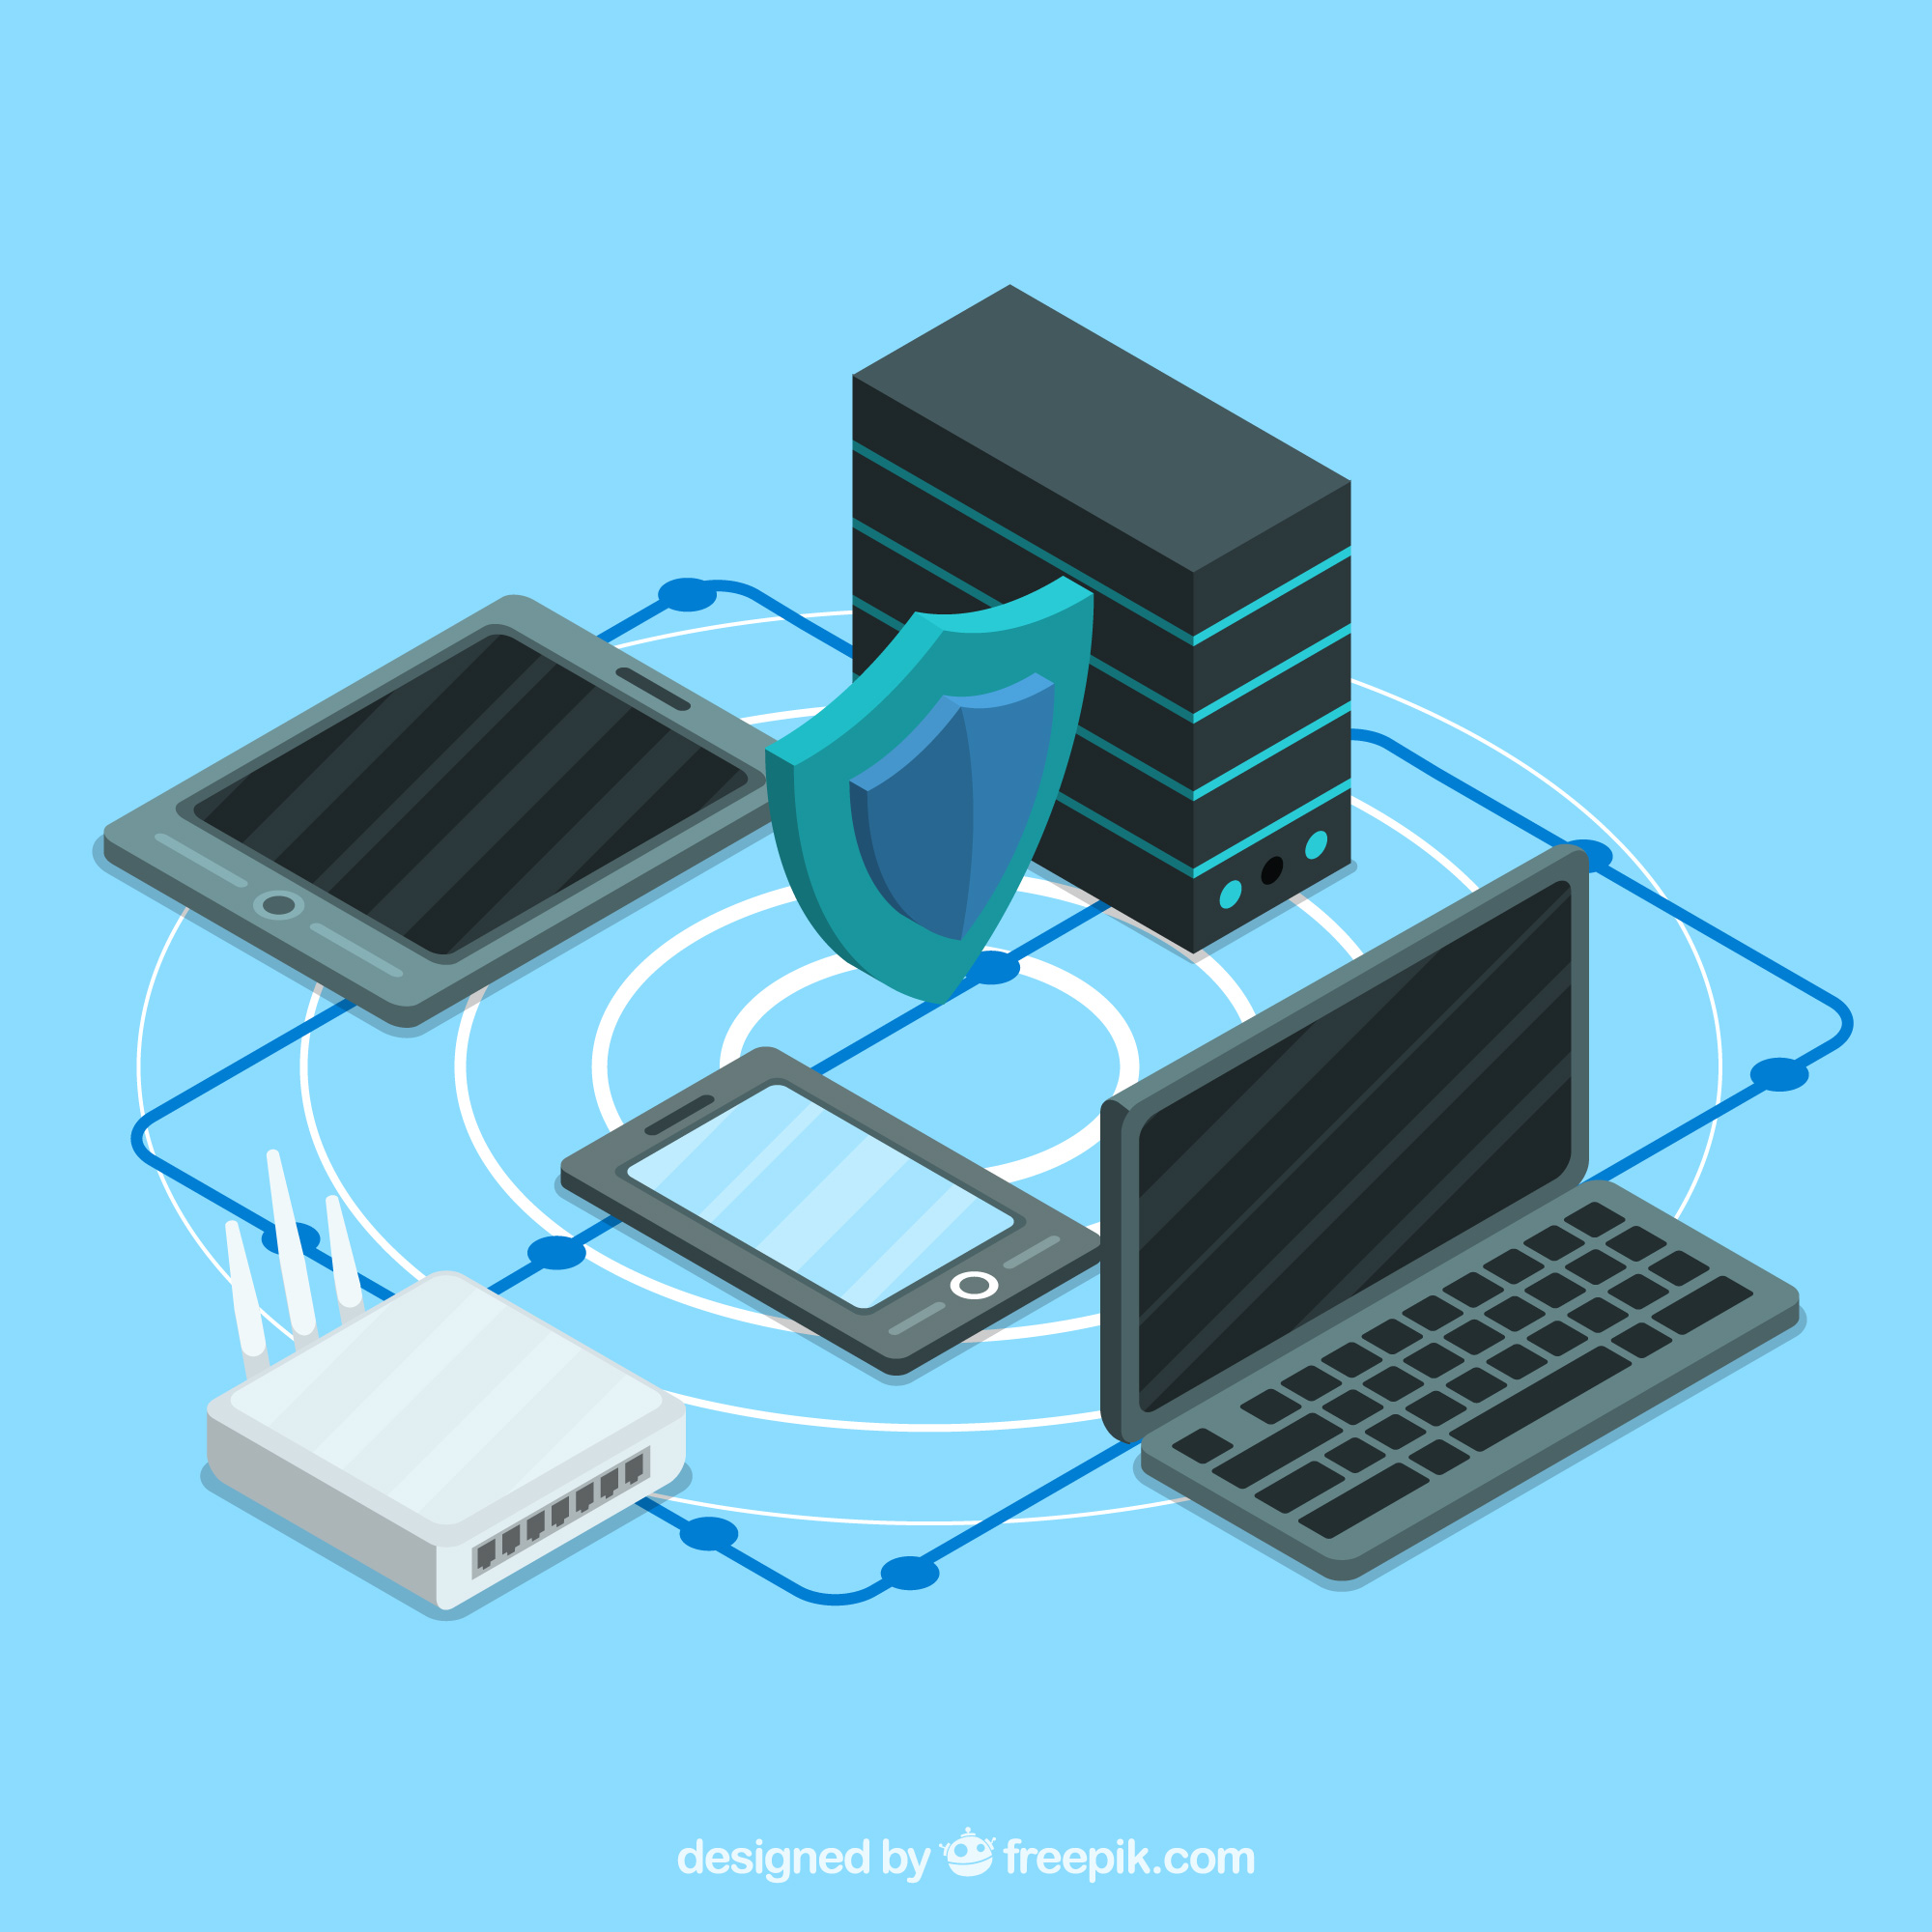
When it comes to managing your home network, many of us don’t think much beyond connecting the router Wi-Fi or plugging in an ethernet cable. Your phone, computer, and smart TV all connect seamlessly, and everything just works. Part of the seamless design is due to most network devices being internet, or cloud, connected. Most of the time this automatic configuration is fine. However, when you want to start controlling devices locally things can become more complex. One small change in the network can leave your devices inaccessible.
Most of the time, your home router automatically assigns an IP address and host name to each device on your network. This is known as Dynamic Host Configuration Protocol (DHCP), and it works behind the scenes to make sure all your devices can communicate with each other. However, these addresses can change for a variety of reasons, and if they do it can cause your integrations and automations to break.
This is where setting a manual assignment, or static IP address and host name, comes in handy. A manual assignment will ensure your device IP address and host name do not change, which in turn means your local integration configurations do not need to be updated. It’s quite simple to configure—and it’s a game-changer for keeping your Wi-Fi and Ethernet devices connected and running smoothly.
Here are some of the advantages of using a manual assignment:
- Better Network Stability
When the IP address changes, it can break the connection between your device and any automation or remote controls you’ve set up. A static IP and host name ensures that your device always has the same address, making it easy to access. - Easy Identification
Remembering IP addresses like192.168.1.23isn’t practical. With a manual assignment, you can give your devices meaningful names and access them more easily. - Simplifies Troubleshooting
If something goes wrong with your smart home, having static IPs makes it easier to pinpoint problems. You won’t have to guess which device is which.
Case Study: Local Tuya and Home Assistant
I have some Wi-Fi Tuya/Smart Life devices in my home. Wi-Fi devices are usually cloud-connected, but I like the idea of having local control for reliability if the internet drops, and faster response times. To get the local control, I use Local Tuya with Home Assistant.
One of the configuration requirements is the IP address or host name of the Tuya device, which the Tuya integration relies on to communicate with the device. The value you enter into the integration is static. It cannot update automatically.
Initially I used the IP address. My devices were configured for DHCP, and it took a fair amount of work to look up all of the devices. IP addresses can change, but my router is pretty consistent in assigning devices to the same IP every time, so I did not worry about it much at the time. Over time though, my devices would go offline, and I had to redo the configurations more than once, so I decided to switch to using host names.
Host names were more reliable because the IP address could change, and I would not have to update the configuration. However, it still took some work to lookup each device host name because they were just a jumble of letters and numbers. Even after this change, my devices would still sometimes go offline. Rebooting the router usually fixed it, but I want to figure out why the connections kept getting lost.
What is discovered is that the router would sometimes pick up the device’s manufacture name instead of the device’s self-assigned host name. To solve this issue, I decided to manually assign IP address and host name for each device. Manual assignment uses the device’s MAC address to match the device to its assigned IP and host name. Because MAC addresses do not change, this provided a couple of advantages:
- I knew the name of each device without needing to look anything up
- The host name never changes
Since making this change, I have not had any connectivity issues.
When To Configure Manual Assignment
Not every device needs to be assigned manually. I have never needed to locally connect to my phone for example. I also have never needed to manually assign cloud-dependent devices like Amazon Alexa or Ring Alarm. On the other hand, it is incredibly useful for locally controlled smart home hubs like Hubitat Elevation and Home Assistant, as well as Wi-Fi enabled devices, like in the case study above. Here’s why:
You may already know that you can use your device host name like a URL. For most routers all you have to do is add .local to the end of the host name. Using .local is just like using .com or .org for a website. For example, http://homeassistant.local will take you to the Home Assistant dashboard. The same is true for Hubitat Elevation if you use http://hubitat.local. These addresses are far easier to remember than dozens of IP addresses, which are nothing more than a string of numbers. 192.168.1.32 goes where again?
The problem with DHCP is that it does not always pick up the correct host name. I run Home Assistant on a mini-pc and sometimes my router assigns the host name as REALTEK SEMICONDUCTOR CORP. The device’s self-assigned hostname is homeassistant. I have a similar issue with the Hubitat and every other network device.
For devices like your smartphone this probably isn’t a problem because you aren’t trying to consistently connect to it from another computer. Cloud-connected devices will open a tunnel (web socket) to the host server or get an immediate response, so their internal address does not matter. For some devices though—like lights, hubs, or a home server—changing the IP address or host name will cause disruptions, forcing you to reconfigure or lose access.
It boils down to this: Anytime you need to reference a device IP or host name directly, make its address static. Also, always choose to use the host name over the IP.
How to Manually Set Your Device IP and Host Name (Step-by-Step)
Now that we’ve covered when and why you should manually assign your IP and host names, let’s dive into how you assign them. I have an Asus router, but other routers should be similar.
Log into Your Router’s Admin Panel
To get started, you’ll need to access your router’s settings. You can do this by typing your router’s IP address into a web browser (usually something like 192.168.1.1 or 192.168.0.1). You can find this address in your router’s manual or on a label on the device itself.
You should be able to connect to an Asus router by going to router.asus.com.
If you’re unsure, look up your router model online for specific instructions.
Navigate to DHCP Settings
Once inside your router’s settings, look for the DHCP or LAN settings page. This is where your router handles IP addresses for devices. It may be labeled differently depending on your router, so you might need to explore the menu.
On Asus the menu is LAN > DHCP Server.
Find Your Device’s MAC Address
To assign a static IP, you’ll need the device’s MAC address. You can usually find this in the settings of the device itself (like your smart TV or speaker), or within the control app (like the Smart Life or Tuya app for smart home gadgets).
You may also be able to look up the devices by IP. On Asus routers you can do this from Network Map > View List.
Assign the Static IP Address and Host Name
On the DHCP settings page, find the option to add a manual IP address or static lease. Enter the MAC address of your device, an IP address, and a host name. The host name is optional, but I recommend setting one for the reasons discussed earlier.

Use Meaningful Names for Easy Access
Here’s a simple trick to make managing your devices even easier: use descriptive host name. This will allow you to access devices by name instead of IP addresses. For example, instead of remembering 192.168.1.50 for your living room lights, you can just type livingroom-lights.lan into your integration
Most routers will let you assign a domain name for your network. By default, this is often .local, but you can change it to something more personalized like .lan. So, your devices could be named:
hubitat.lanhomeassistant.lanlivingroom-lights.lan
This makes accessing your devices much more user-friendly.
Using Manual Assignment with Smart Home Systems
Here is a screenshot of my Local Tuya configuration from the Case Study at the beginning of this article.

I also have Home Assistant connected to Hubitat, using the hostname.

And vice versa:

Static addresses become increasingly important as you expand your network. Suppose you set up InfluxDB and Grafana to graph your device activity from Home Assistant. You will want Home Assistant to be able to send data reliably. If you host a media server like Plex on your network, you won’t have to remember or lookup its current IP. The use cases go on and on.
Final Thoughts
Assigning static IPs and hostnames to your smart home devices may seem like an extra step, but it’s a small investment that leads to a more reliable and manageable home network. With the added benefit of easier control and smoother automations, setting static IPs ensures your smart home runs seamlessly—without the constant need to reconfigure devices or worry about broken connections.
By following the steps above, you’ll enjoy better stability, simpler device management, and a smarter, more efficient home network. Make the switch to static IPs today and take control of your smart home!
Leave a Reply